Maker

    This is the story of how I fixed a Disk II drive

    It may sound crazy, but there was a time when Apple computers and accessories could be repaired by the user. This is a story about how I fixed a Disk II drive without any electronics training.

    Software and resources used


    I cleaned the green phosphor monitor and repaired the crack

    Cleaning and repairing a frame crack took a lot of time, but I’m happy with the result. I also closely inspected the capacitors and couldn’t find anything unusual. The board looks like it just came out of the factory, but there is a strange smell coming from the monitor when it is on. I suppose I will have to wait until the mysterious capacitor begins to leak.


    Cleaning the Apple IIe

    This Apple IIe arrived pretty dead, and even though I don’t have any training in electronics, soldering, or any of the many other skills, I decided I would fix it. The list of problems is endless, and I’ll do what I always do in situations like this. Break it up into smaller problems and solve them one at a time.

    First step: cleaning.


    How to use both sides of a floppy on a Apple Drive II

    The Apple Disk II drive is capable of reading only one side of a floppy disc. To use the other side of a Double Side (DS) disk, you need to flip it like a vinyl record. However, only flipping won’t do the trick.

    All 5.25 floppy disks have a cutout on the right-hand side which tells the drive they can be written on. However, if you flip it, there will be no notch, and the drive will not be able to write on that side.

    In the past, we had a tool called the Floppy Disk Notcher. But for inexplicable reasons, it became too expensive, and in the end, all you need to do is cut the disk in the right spot.

    I use an X-ACTO knife, but if you’re careful, you can use a good pair of scissors as well. To tell where to cut, I use masking tape (see image below) and trace the line by flipping another disk on top of the one I’m cutting.


    Understanding the Apple IIe keyboard mechanism

    It took me a while to understand the key mechanism because it was different from the one shown in the first video I watched about this topic. Anyway, after several tests and with the help of my son Fernando (yes, he’s helping 👏), we figured it out.

    NOTE TO SELF: If I had watched this other video, I would have understood it in minutes. But what’s the fun in that? 😄

    How it works

    1. The small square (1) inside the key is actually made of two metal pieces sandwiched together.
    2. When a key is pressed, key holder (3) moves down and pushes the center of the metal piece that looks like a Y (2) against the center of the square (1). That’s what closes the circuit and registers the key press.
    3. There’s also a spring (not shown in the picture) that brings the key holder up again after the press.
    Four disassembled parts of a mechanical switch are laid out on a green cutting mat, with labels indicating where a spring should be placed.

    To disassemble it, you have to gently pull outwards the two mechanisms that connect the key to the PCB, and the flat plastic tabs that look like a fat T. But be careful, this is old material that easily breaks.

    A mechanical keyboard switch is placed on a green cutting mat with a grid pattern.

    Fixing

    In most cases, the solution is simply to bend the Y-shaped metal (2) piece back to its original shape. I think it gets flatter and flatter over time, and the key holder ends up not being able to press it with enough force agains the piece (1).

    A small black switch with metal contacts is placed on a green cutting mat with grid lines.


    😮 Oops, I didn’t take my watch off

    Remember my video about why I chose a Garmin instead of an Apple Watch? I was sending and painting for a while when I realized I had forgotten to take off the watch. If you look closely enough, you will notice that there are paint drops on my arm. Some of them ended up on the watch, but that’s alright. All you had to do was wash it, and everything worked out fine.


    MacGyvering a broken suitcase.

    The plan was to contrast two realities that couldn’t be more far apart, by spending a couple of days in Berlin after our long journey across India by train.

    It’s January, and since the weather was the opposite in both countries, we had to bring two very different types of clothes. That’s why we are traveling with a suitcase that isn’t the appropriate size for trains.

    Long story short, always dragging it sideways on train hallways and then pulling it on the rough terrain around the stations damaged the wheels and turned it into a limping suitcase. Although it was far worse than driving with a flat tier, it didn’t make sense to fix it because it would break again. But now that we are in Berlin, I decided to take a look at the situation.

    I thought the wheels were just jammed, but that wasn’t the case. Two of them lost almost all of their bearing spheres, and there’s no way I can fix that with the tools I brought with me.

    After some investigation, I was able to dismantle the axle and reposition one good wheel on each side. I was happy to have a working rolling suitcase again, but the wheels were too loose and that was not going to last long. The solution was to MacGyver it by cutting pieces of a pen barrel, which I used as a spacer. And that worked like a charm.


    The intricate task of replacing the iBook G4 hard disk.

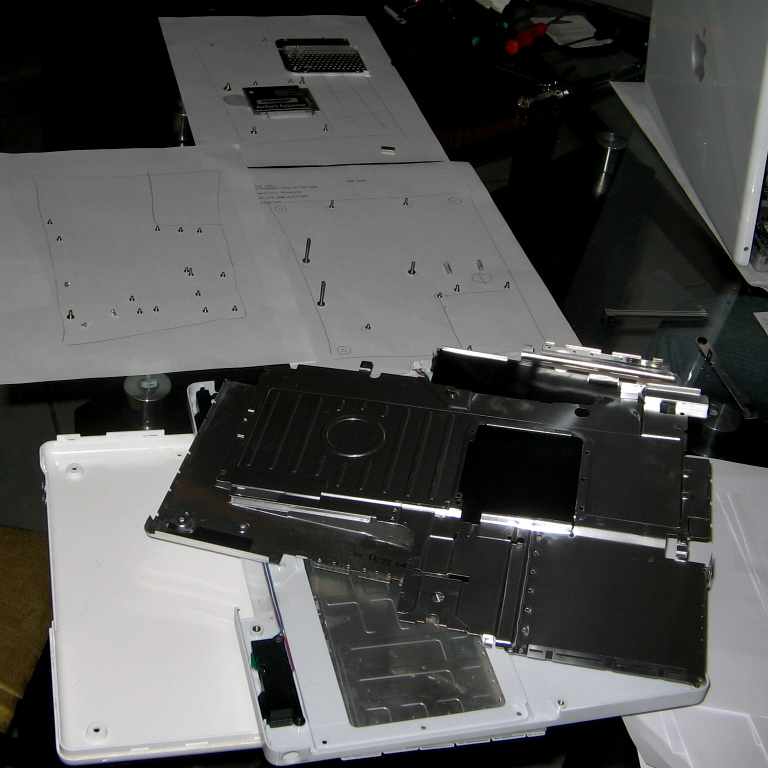
    First, I connected the new disk to the Mac via USB, and with the help of Carbon Copy Cloner, I created a perfect copy of the old disk, which was still inside the computer. Then, after many layers and countless screws (pictures below), I finally reached the disk and replaced it.

    The operation took me a good number of hours, and despite the flawless boot, the sleep and wake function was not working when closing and opening the lid. It took me a while to figure it out, but the culprit was one of the magnets not being correctly aligned. Here we go again. To get there, I had to take off some layers and screws one more time.

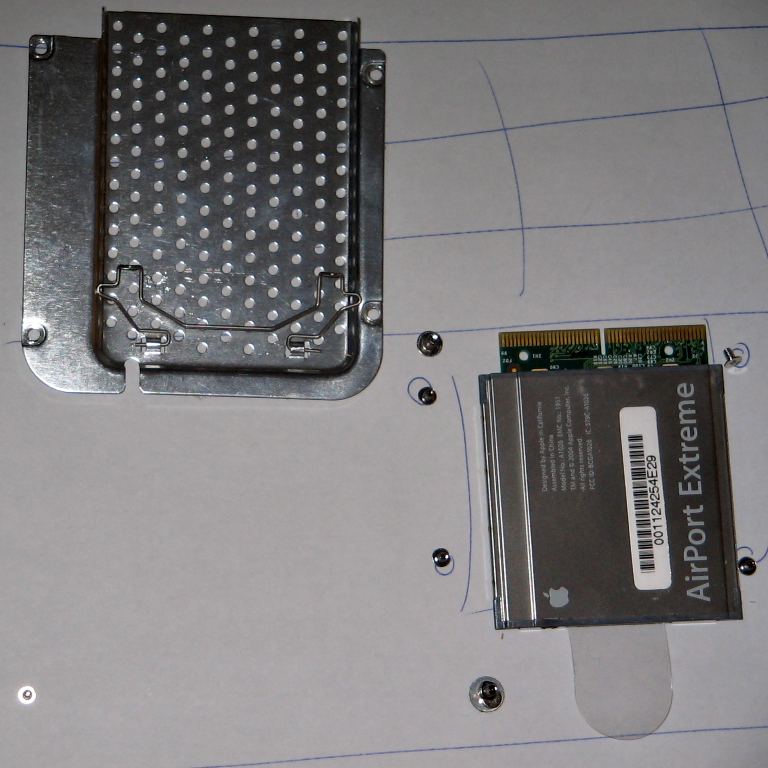
    The next problem on the list was the Wi-Fi not working. I checked the Airport Extreme card, which is easily accessible below the keyboard, and everything looked fine. After several hours of troubleshooting the operating system without any success, I realized how late it was and went to bed.

    By the way, when you feel stuck, it’s a good idea to take a break or switch to a different project. It always works for me, at least.

    The Next Day

    I’m not going to lie to you. Throughout the day at work, I wondered what could be wrong with my computer. If everything was fine with the operating system, maybe I have damaged the Wi-Fi card.

    Back at home, I decided to check the card again, and when I touched it, I noticed that the antenna cable connector was not completely pushed in. The moment I pressed it and heard the click, I knew the Wi-Fi would be fine.

    Wow, what a mission!
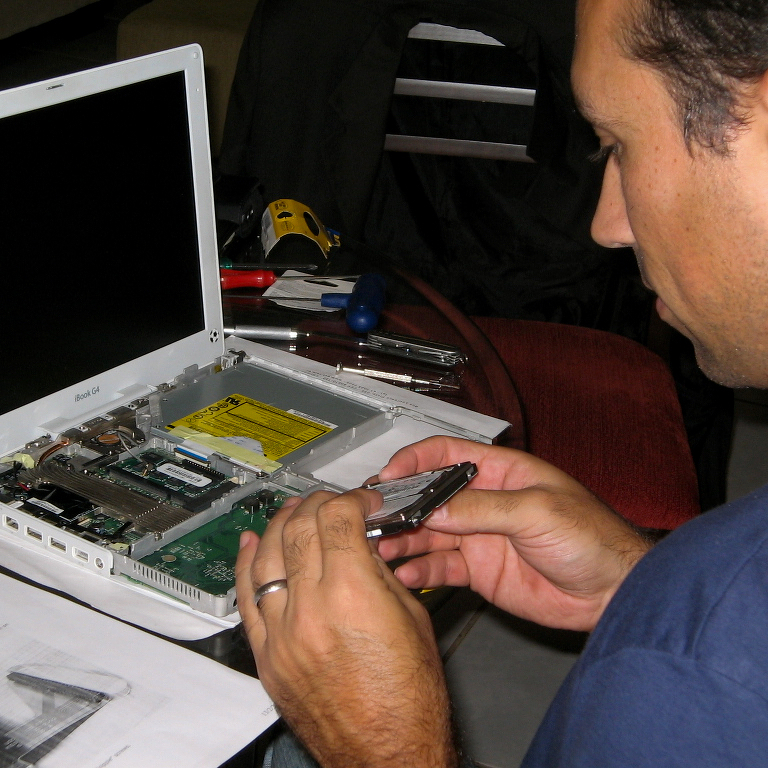
    A person is repairing a laptop with its bottom case open.

    A disassembled laptop is placed on a table surrounded by sheets of paper with labeled diagrams and screws.

    An Apple AirPort Extreme card is shown beside a metallic attachment plate and some screws on a surface with grid lines.


    First 15K (using my Nike+iPod hack)

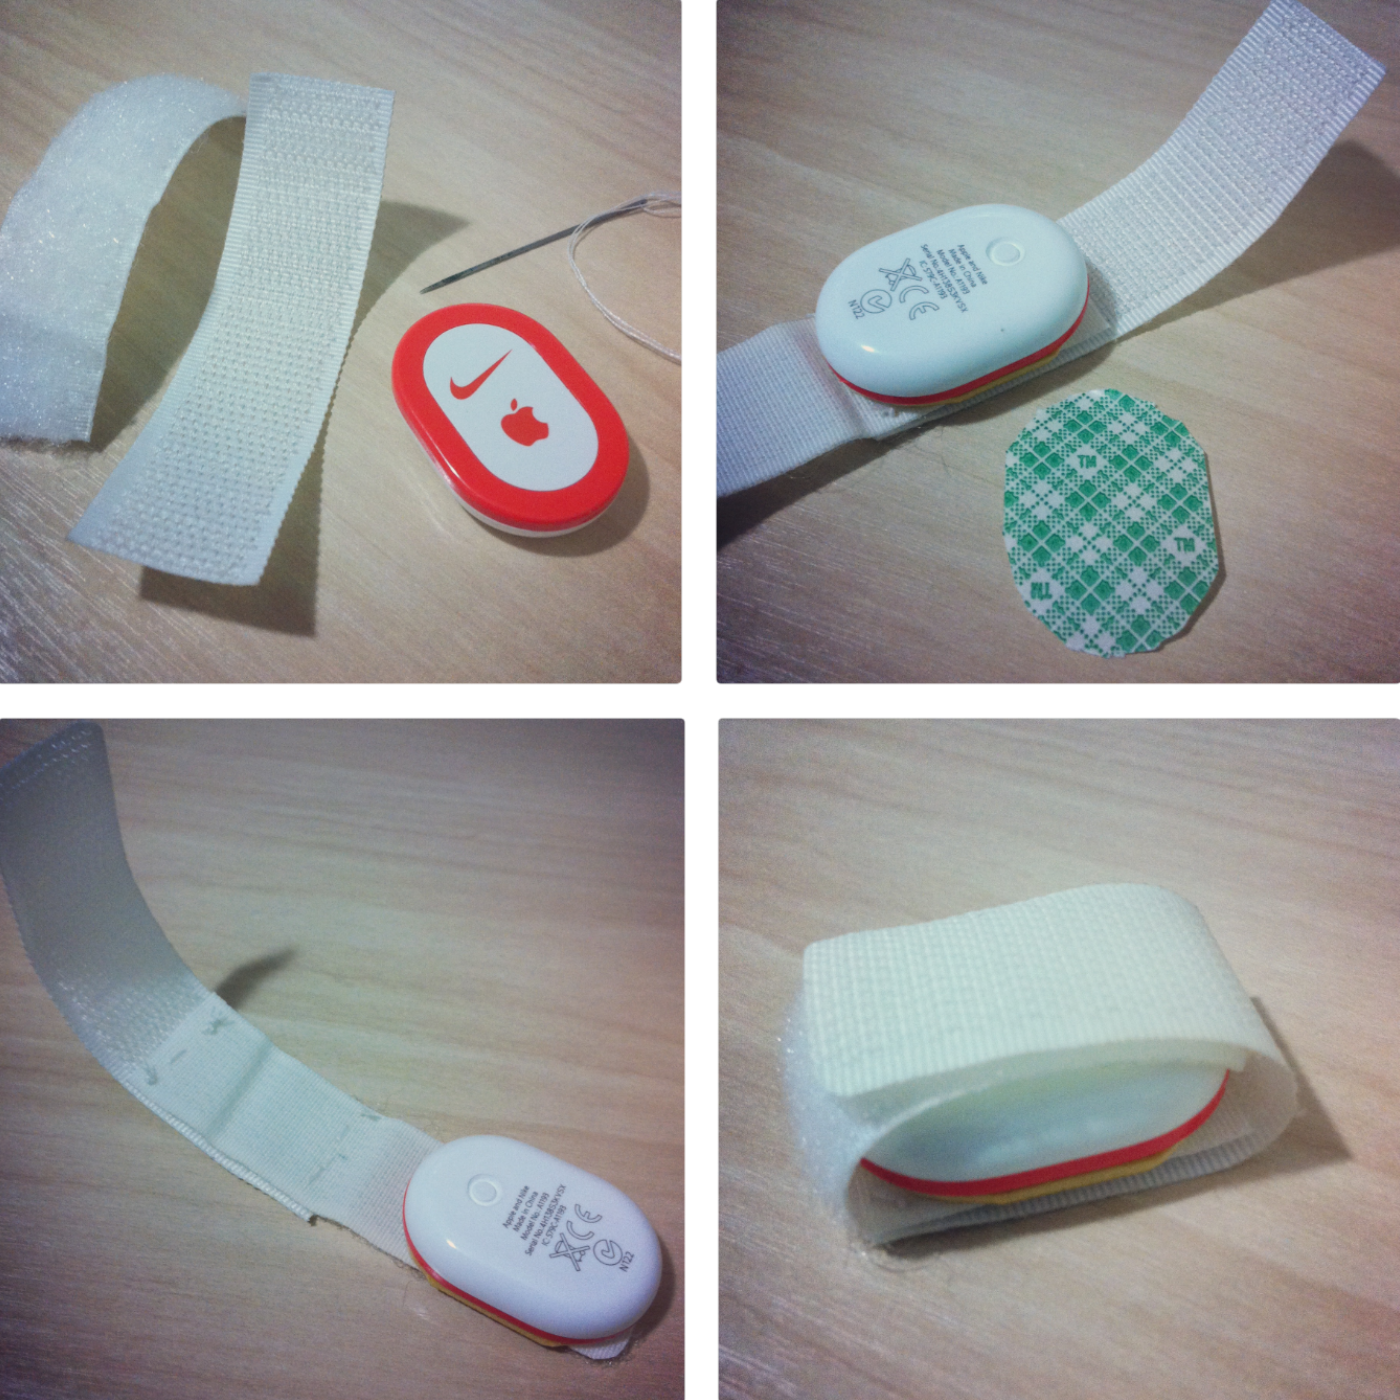
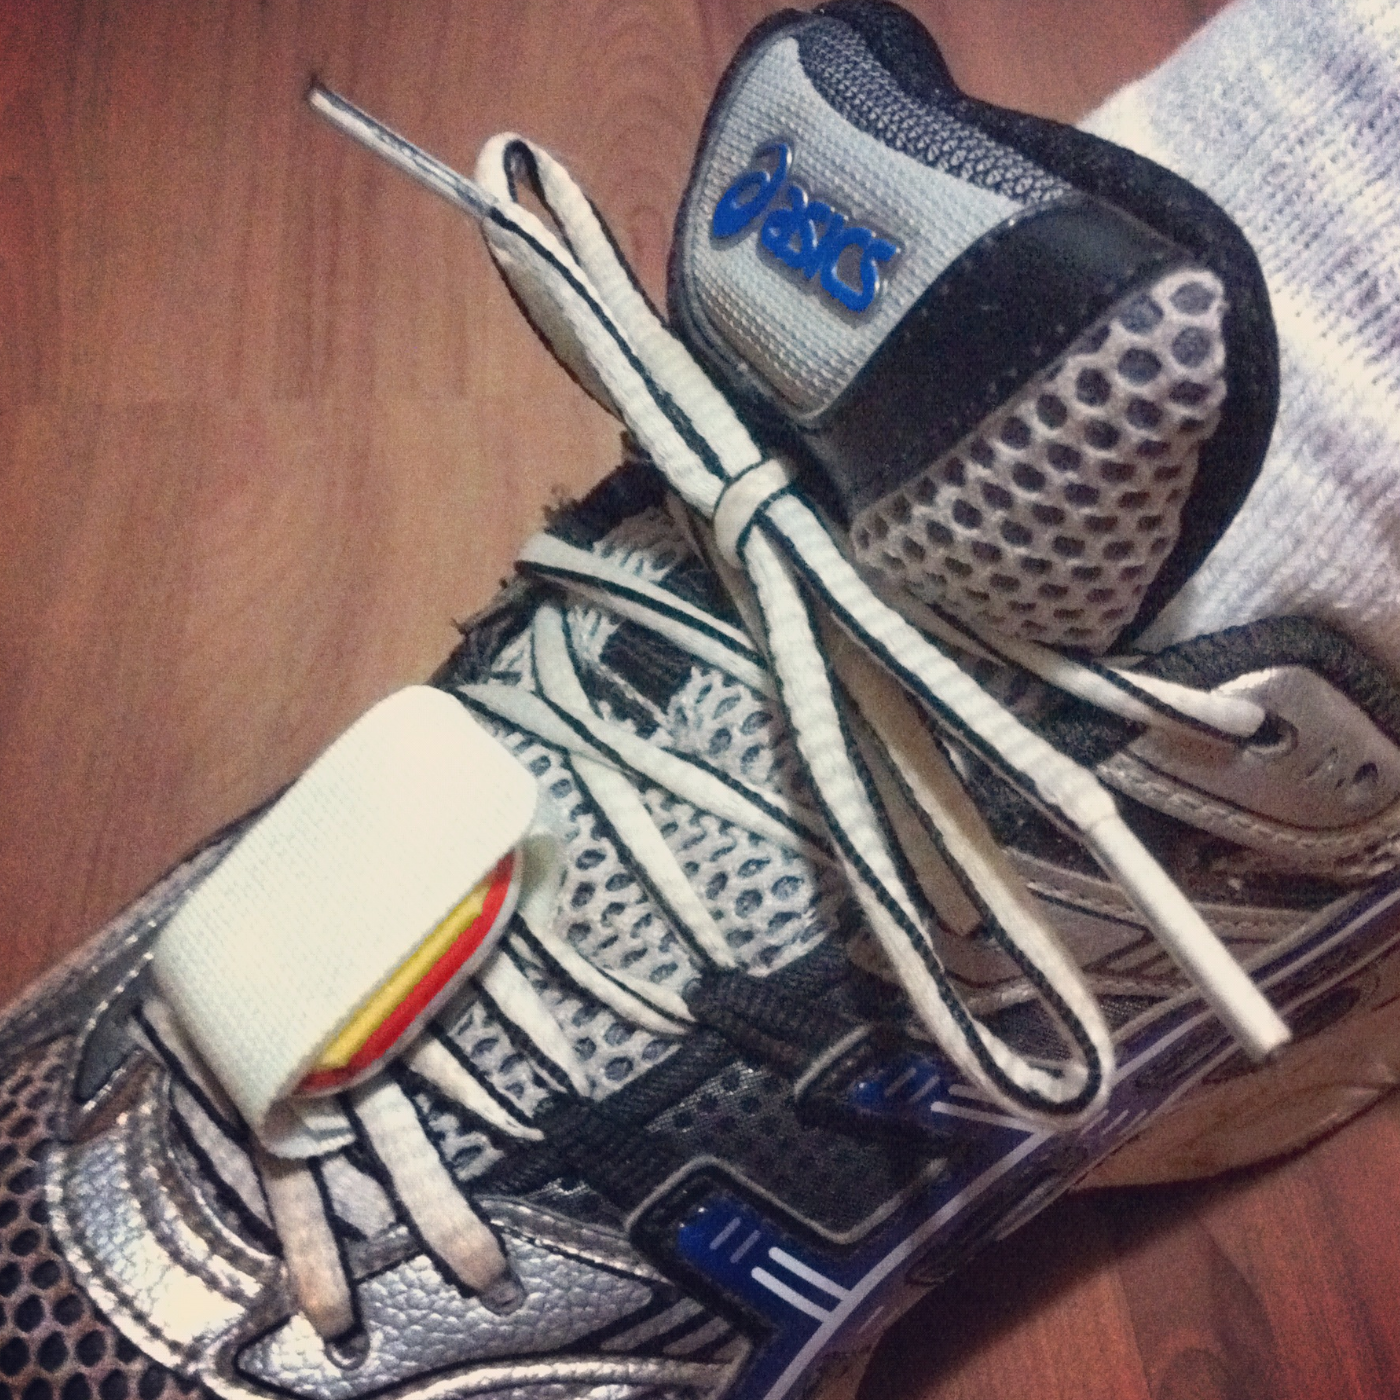
    Even though I don’t like Nike running shoes, I love running with my iPod, so it’s only natural that I wanted to try the Nike+iPod tracker. The solution was a simple hack (pictures below) that I’ve been using for the last four months.

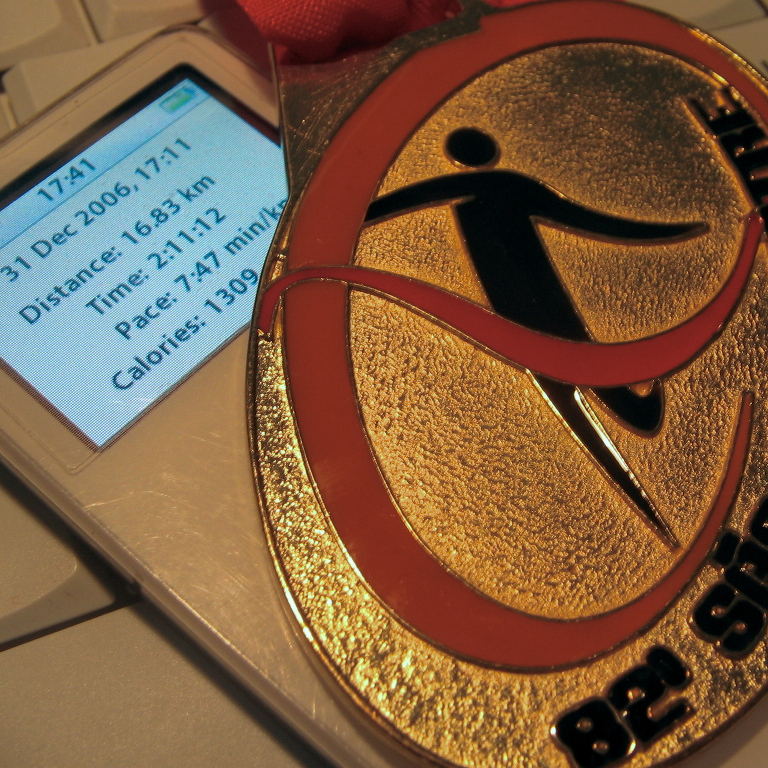
    Yesterday, it even completed my first 15K with me!


← Newer Posts