Apple
Odyssey
Reading Dealers of Lightning sparked a curiosity to learn more about the history of technology, and that’s when I started looking for other similar books.
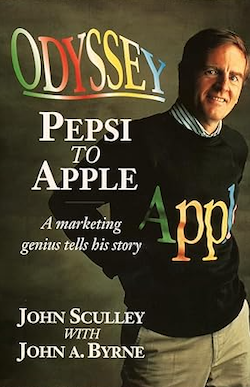
I see Odyssey as an autobiography by Sculley, centered on his trajectory at Pepsi and then Apple. But it is a fun read nevertheless. Especially because I understand things better when I have a clear chronological sense of the timeline of events. While Defying Gravity, Startup, and Piloting Palm helped me with the mobile computing industry context I was immersed in at the time, I needed more.
So, even if the narrative is from the perspective of John Sculley, it helped me add some more pieces to the broader historical context I’m trying to understand.
Defying Gravity
I wouldn’t classify Defying Gravity as a book. The coffee table format, all the pictures, and the narration in chronological order make the reading feel more like watching an extraordinarily well-made documentary about the behind-the-scenes of the Apple Newton creation.
As a teenager, I remember seeing so many Newton ads and articles in computer magazines. A self-inflicted torture, I would say, as my second-hand Apple II+ with almost no accessories was all I could afford after saving money for so long.
Needless to say, I was so fascinated by this book. Despite the size and shape, I had to bring it with me on a long trip from Brazil to Mexico to keep rereading it at the airport and on the plane.